BULK PRICING DEALS

15% OFF

15% OFF THE LOWEST LISTED PRICE
Ir al contenido
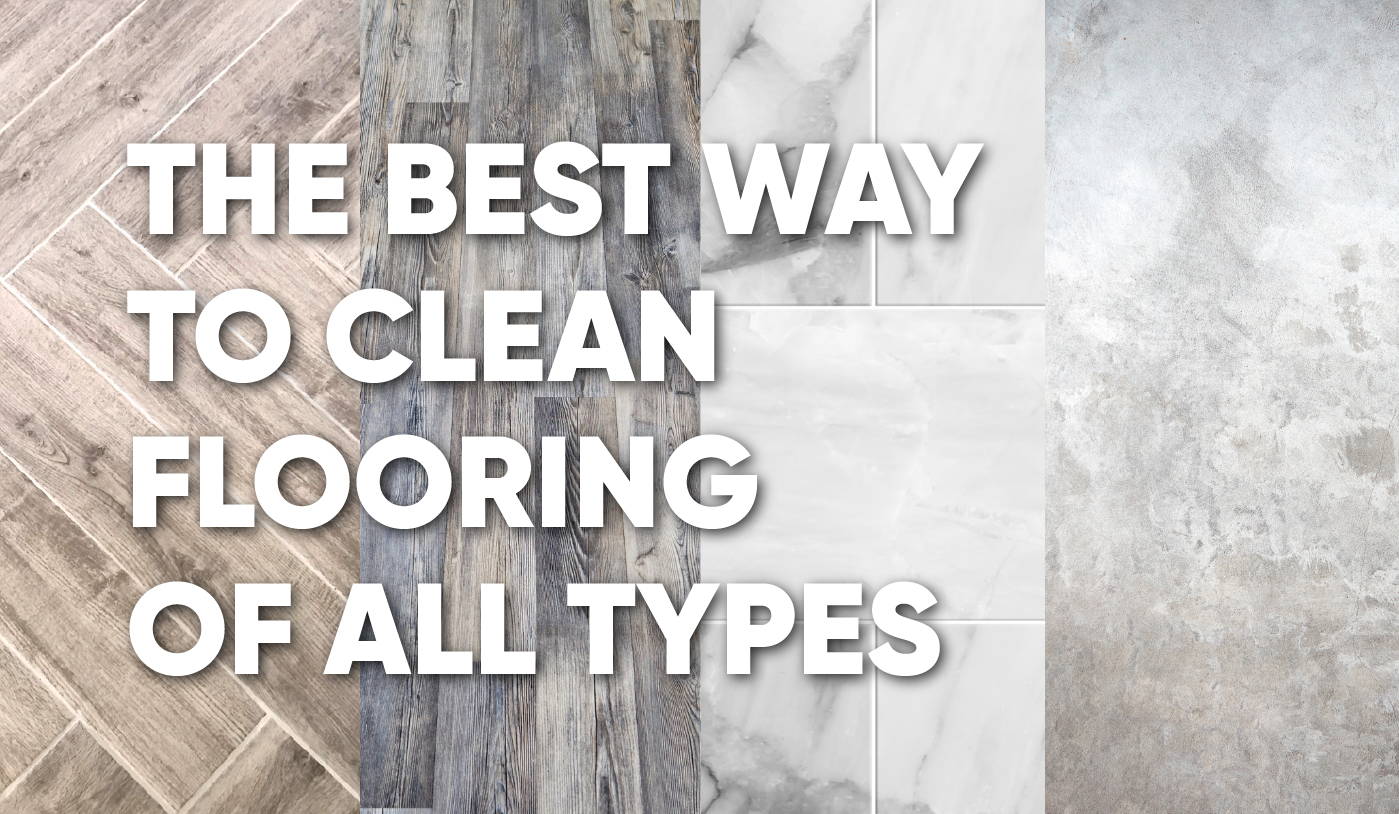
The Best Way To Clean Hardwood, Tile, Stone Floors, And More!

The Best Way To Clean Hardwood, Tile, Stone Floors, And More!

If you clean professionally, you probably learned pretty quickly that cleaning hard floors isn’t nearly as easy as your customers think!

Sweep and mop, how hard can it be, right?! A rookie cleaner will agree with this misconception, but their first $5K floor damage claim will send them running to this page in no time.

They’ll have learned the hard way that hard floor care is deceptively nuanced. Tools and chemicals that make one floor shine can make the floors in the next room unholy. Even the right products on the right floor can still trash them if used in the wrong way.

Incorrect hard floor cleaning, at best, will leave you with streaky floors the customer could fire you over, and at worst, destroyed floors the customer could sue you over! If all this talk of getting fired and paying thousands of dollars in repairs has got you scared, just take a deep breath and keep reading because below is a clear, definitive guide for professional cleaners on how to keep hard floors looking beautiful and damage free.

1. Select your weapons of war (AKA cleaning supplies)

As a professional house cleaner, there are literally thousands of mops, brushes, brooms, vacuum cleaners, and soaps you could choose from to clean your customers' hard floors, so where do you even begin?!

Scrolling endlessly through all the floor soaps and mops on Amazon might send your brain spinning. But fear not, as we’re going to show you the key to cutting down these infinite options into a short go-to list of the supplies you need to clean any home. The trick is the process of elimination!  

If you are cleaning homes professionally, most consumers expect you to bring all of your own cleaning supplies. So you have to be very minimalist about your supply selection, lest you laden your cleaners like pack mules. In residential cleaning, there is no room for bulky one trick wonders, as every tool and soap has to address multiple surfaces to keep the weight and volume down. This restriction crosses off tons of tools and chemicals that are overly specialized for only specific types of flooring.

In most modern homes, open floor layouts cause different types of flooring to abut one another on multiple sides. So products that are safe for only one type of floor, but dangerous for others, are an immediate one way ticket to the damage zone! No matter how skilled a mopper you think you are, Murphy’s Law says the likelihood of splashing over the line onto the delicate flooring is directly proportional to cost to repair it!

Even in old fashion homes without abutting floors, it is all too easy to absentmindedly grab the wrong floor cleaner from your kit in a rush. So it’s best to avoid bringing any products that are dangerous for any common floor types to routine cleanings.

Trying to eliminate extraneous supplies and products that damage delicate floors means you’re left with picking products that are safe for fussy flooring but robust enough to still clean everything else reasonably well. Using delicate flooring products for everything will allow your crew to clean every floor without worrying about if the products are safe or wasting time trying to avoid edges of abutting floors as they work.

You may keep a stash of more dangerous specialty tools and chemicals for restoring especially dirty flooring, but it’s best to pack those products in special kits and hand them out only as needed, so staff have less opportunities to accidentally make costly mistakes.

2. Learn Which Hard Flooring Needs Which Supplies

While there are thousands of different flooring choices your clients could make, they luckily all fall into only a few groupings, each with their own distinct cleaning needs.

All flooring needs to be routinely cleaned with the same two basic steps; dry sweeping and wet mopping, making summarizing their care needs even easier. Luckiest of all, we’ve determined the universal two easiest ways to sweep ALL hard floors (which we’ll reveal at the end of this section), so the only thing we need to discuss by floor type is wet cleaning!

Here’s the quick breakdown of each key floor type and their wet cleaning needs, from most to least durable:

Tile Flooring

This is the most durable flooring category. Traditional tile flooring, made of glazed ceramic or porcelain, is usually found in kitchens and bathrooms and is pretty bulletproof when it comes to daily cleaning. It can stand up to both acidic and alkaline floor soaps, so most floor cleaners won’t harm it. And it can also withstand most cleaning tools without getting scratched, including scrub brushes.

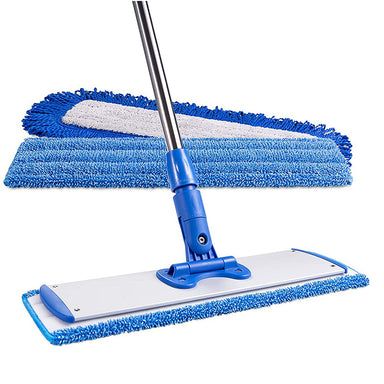
For daily cleaning, almost any floor soap and mop will work, but for tile floors with recessed grout or uneven texture, it's best to use a textured mop like a chenille flat mop pad or microfiber tube mop to reach into the low spots. For simple flat tiles with close to flush sealed grout, a flat microfiber mop and neutral floor cleaner is all you need.

18" Chenille Microfiber Dust Mop

$14.98 (2pk)

Mopa de tubo de microfibra mediana

$15.98

18" Pro Microfiber Mop System

$44.98

For tile floors with heavy soils, you may need an acidic grout brightener or an intensive floor cleaner with bleach, but these should only be used when really needed, as they break down grout sealants (you must also plan to reseal the grout immediately after this work is finished to protect the new brightened results).

You'll also likely need a grout brush to scour the grout back to life. If the grout is old and falling apart, restoration via cleaning is no longer an option and you'll need to stick to just damp mopping with minimal water and no scrubbing to avoid water damage to the underflooring and removing even more crumbling grout (don’t forget to alert the client, so they can have the floor repaired).

Vinyl Flooring

Whether it’s VCT tiles, sheets, or even LVF luxury vinyl, all vinyl flooring is also very durable with equally straightforward cleaning needs. They’re all pretty waterproof, except for the seams, as well as very scratch resistant. Vinyl flooring can stand up to most normal acidic and alkaline floor soaps, though luckily you won’t need the most aggressive grout brighteners as there is no real grout to brighten.

Vinyl can be dulled with too aggressive scrubbing, so try to limit yourself to tools like non-abrasive hand pads, microfiber scrub pads, or magic erasers for deep cleaning. Since vinyl is flat, any mop will work, but flat microfiber mops are ideal because they make full contact, giving you great coverage, while still limiting how much water you slop down on the floor, so you don’t flood the seams.

The key point of caution for vinyl flooring is the seams, as they can allow water in and pop up if too much water or aggressive soap is allowed to dwell on the seams for too long. Also as mentioned before, using aggressively sharp and scratchy tools is also a one way ticket to damageville.  

Concrete Flooring

While the name implies ultimate durability, concrete flooring is actually more fussy to care for than it sounds! Even though concrete is hard as a rock, the stains and sealants that are used to make it look good are not. Concrete flooring is stained or dyed into attractive colors and patterns and then locked in with a sealant, and ALL sealants are susceptible to damage from stronger chemicals and abrasives, no matter how durable their brand name makes them sound.

To help sealants last their longest, avoid strong acidic and alkaline cleaners and always use a neutral floor cleaner. Also try to avoid scrubbing and use only a non-abrasive pad when you have to. Most concrete floors are smooth, so a flat microfiber mop will make the most contact without risking any damage from sharp hardware or too much water.

Hardwood Flooring

Wood floors are some of the first floors people think of when it comes to delicate and hard to maintain flooring, and with good cause, as wood is very susceptible to water damage. Modern polyurethane finish is actually surprisingly water resistant and durable, especially in comparison to old fashion wax, so the wood is fairly safe so long as the finish is in good condition.

The risk with finished wood flooring comes from compromised finish, as any gaps in the floor planks or worn spots in the finish leave the exposed wood extremely vulnerable. Also wood finish is susceptible to dulling, scratching and softening from stronger acidic or alkaline floor cleaners.

Fun fact: while vinegar is thought of as a mild green cleaner, it is actually rather acidic and softens polyurethane floor finish.

For these combined reasons, the best choice for wood flooring is a flat microfiber mop with a neutral floor cleaner, as flat mops will make full contact yet allow for minimal water usage. Microfiber will hold onto more dirt and residue, thus leaving less streaks. Avoid string mops, sponge mops, or any mops that leave puddles of water, being careful not to leave puddles from banging into your mop bucket too, and dry up any water you accidentally splash quickly.

Laminate Flooring

Laminate flooring is one of the most deceptively fussy flooring types to maintain, as it's so commonly advertised as an easy flooring solution. While laminate flooring may be easy to install, depending on the quality purchased, keeping it looking good can be anything but easy.

Laminate floors are basically a resin or fiberboard base with a picture of a real wood or tile floor printed on a plastic sheet glued on top, with some more clear plastic sheets layered over the picture to protect it. As you can imagine, plastic isn’t exactly scratchproof and if the plastic doesn’t extend to the sides of the planks, the underside of the laminate flooring can be extremely susceptible to water damage from leaks through the seams.

While high-end laminates can correct this issue through using better base layers and plastic wrapped around all sides, at the end of the day, you as a professional cleaner have NO WAY to figure out how high or low quality the laminate flooring is by just looking at the top. For this reason, all laminate flooring has to be mopped as if it were the cheap stuff, which means you can only use neutral pH floor cleaner and a flat microfiber mop. Restrict water usage as much as possible, never leave puddles even for a short period of time, and avoid scrubbing as much as possible.

Stone Flooring

As you probably guessed, stone flooring, especially limestone family stones like marble and travertine, are the most delicate flooring material you can clean. While some stones like granite and slate are pretty tough, many scratch easily and can be damaged by strongly acidic or alkaline cleaners. Even if the stone itself is tough, the sealants used to keep the porous material from absorbing stains are definitely prone to damage from harsh chemicals and abrasives.

As your cleaners are not geologists, it's not fair to expect them to identify marble versus white granite, engineered versus natural stone, sealed stone versus honed bare stone, and so on, so the only fair thing to do for daily cleaning is to treat all stone as if it were unsealed marble.

For routine cleaning, this means using a flat microfiber mop and neutral pH floor cleaner, as these are the safest options on the market. If the floor is uneven like slate, you may need a textured mop like chenille flat mop pad or a microfiber tube mop to navigate the rocky terrain.

If the stone floor is in need of some TLC, there are excellent intensive stone floor cleaners on the market, some even focused on stone floor grout which is notorious for being hard to restore without damaging the stone.

Regardless of the products you choose, when it comes to stone cleaning remember no puddles, no abrasives, no scraping, and no harsh chemicals unless you’re a contractor there to polish and restore the floor (or want to end up paying for one because you trashed the floor!).

Best Sweeping tools for ALL Flooring

As promised, here are the two go-to products to sweep all hard floors before mopping… surprisingly neither of which are brooms! While great for flying at midnight, brooms are otherwise an antiquated tool that does nothing more than kick a third of the dirt in the air, press another third deeper into the grout and crevices, and maybe gets the final third into the dust pan, so leave it at home and save it for Halloween!

Your best modern sweeping tool is actually your vacuum, especially if it is a canister vacuum or backpack vacuum with a nylon bristle floor brush attachment.

Vacuums extract dirt out of the cracks and pores of the floor, leaving far less dirt to saturate your mop water, plus they work so much faster than sweeping as they suck in dirt from every direction, not just where you directly touch. Vacuums even clean the air as you work (especially if the vacuum has a HEPA filter), reducing your dusting work too.

If you have to use an upright vacuum with a spinning beater bar, make sure it's designed to vacuum hard floors and be VERY careful to make sure you haven’t picked up anything sharp like a paperclip before vacuuming over wood floors.

If your vacuum can’t be used on hard floors, or your client needs a quieter option due to a napping child, the second easiest way to sweep hard floors is a high quality dust mop. Quality dust mops pick up as much, if not more than a vacuum cleaner, are silent, lighter, and easy to maneuver, so they’re a great option. The only drawback is you need several pads per clean, so they increase your laundry and they might not be able to handle as large a debris as the vacuum, so use them, but be sure to have a vacuum with you as a backup.

18" Chenille Microfiber Dust Mop

$14.98 (2pk)

Mopa de microfibra para el polvo de 18" Mojave

$12.98 (2pk)

18" Pro Microfiber Mop System

$44.98

Unsure if you have the right supplies for your cleaning business? Purchase our How to Start a Cleaning Business Microfiber Kit to ensure you have all the right supplies, in the right quantities, at the right price.

3. Learn to Vacuum, Sweep, and Mop the Right Way

In residential cleaning, many independent cleaners try to pretend that technique doesn’t matter, whatever your grandma taught your mom who taught you is good enough. But that thinking is what makes workers comp claims more common in residential cleaning than commercial!

Incorrect floor cleaning techniques risk floor damage and employee injury, so it’s important to learn to clean like a professional, not just a home consumer with a side gig.

Here’s the step by step technique for beautiful floors:

1. Sweep: Vacuum Technique (best for all floors)

    1. Clear the floor of items such as toys and clothing and remove easy-to-lift furniture, like chairs.
    2. Plug the vacuum cleaner in by the entry of the room or outside in the hallway.  
    3. Hold the cord away from your feet in your non-dominant hand and stand up straight.
    4. Starting at the back of the room and working your way back to the entry door, work your way around the room in a deliberate manner.
    5. As you come to each section, vacuum the edges of the floor then the center.

2. Mop: Bucket Technique (best for durable floors)

      1. Mix a bucket of hot water and floor cleaner according to manufacturer’s directions. If the floor is heavily soiled, fill a second bucket with plain hot water for rinsing.
      2. Assemble the mop and set the adjustable pole to the height of your chin standing up straight. This will ensure proper posture.
      3. Dampen and ring out the mop head in the soap water and attach to the mop.
      4. Starting at the furthest point in the back of the room, mop your way from the back of the room to the front, to reduce stepping on wet floors.
      5. Work in 3’ x 3’ sections, running the mop along the floor edges, then the centers, working your way around the room.
      6. When possible, wind the mop back and forth in an “S” pattern, keeping one leading edge / side of the mop in the same direction at all times to push along any loosened debris as you work.  
      7. If the floor is too cluttered with furniture and table legs to maintain the S pattern, it's acceptable to pump the mop back and forth, but be sure to keep an eye on the floor for loosened junk.
      8. Check your mop head frequently to see if it is dirty or saturated. Rinse and wring out the mop whenever it's near full and reclean the last couple of strokes you made before you realized it was full. If cleaning a heavily soiled floor, rinse the mop head in the fresh water bucket, wring it out, then dip and wring it in the soapy water before continuing mopping.
      9. Watch carefully for any puddles, especially near the bucket, and mop them up quickly. Floors should be left slightly damp, never drenched.  

3. Mop: Spray Mopping Technique (best for delicate floors)

        1. Mix a quart spray bottle of water and floor cleaner according to the manufacturer's instructions.
        2. Assemble the mop and set the adjustable pole to the height of your chin standing up straight. This will ensure proper posture.
        3. Dampen and wring out the mop head well with fresh water in a nearby sink and attach to the mop. Make sure the mop head is only damp, not soaked. If your room is far from a sink, dampen several mop heads with fresh water at once and keep them in a plastic bag.
        4. Starting at the furthest point in the back of the room, mop your way from the back of the room to the front, to reduce stepping on wet floors.
        5. Work in 3’ x 3’ section, first spraying the floor with the cleaner in the spray bottle (set the spray nozzle to jet stream so it doesn’t get onto walls and furniture). Then run the mop head along the floor edges, followed by the centers, working your way around the room in a deliberate manner.
        6. When possible, wind the mop back and forth in an “S” pattern, keeping one leading edge / side of the mop in the same direction at all times to push along any loosened debris as you work.  
        7. If the floor is too cluttered with furniture and table legs to maintain the S pattern, it's acceptable to pump the mop back and forth, but be sure to keep an eye on the floor for loosened junk.
        8. Check your mop head frequently to see if it is dirty or saturated. Rinse and wring out the mop whenever it's near full in the nearby sink and reclean the last couple of strokes you made before you realized it was full.
        9. If there's no sink nearby, switch the dirty pad for a new one from the plastic bag, folding the used pad inward so it doesn’t soil the remaining pads. Up to 4 pads is plenty for most residential rooms. Rinse all the pads at the end of the room and reuse them in the next room.
        10. Watch carefully for any puddles and mop them up quickly. Floors should be left slightly damp, never drenched.  

Want to help your cleaners mop better? Download our Bad Mopping Guide PDF.

4. Establish Clear Floor Cleaning Supply Rules & Standardization

In business, if it isn’t documented, it’s not measurable and if you can’t measure it, you can’t monitor it, which is where all the mistakes happen. 

If your business hasn’t established a standardized set of cleaning supplies you provide each cleaner for every clean, consider this your clarion call to get on it already. If everyone is getting the same supplies, you can train your employees clearly on which chemicals and tools to use on which floors, which will greatly reduce damage claims. Learn more about this critical step in How to Run a Successful Cleaning Business.

If you allow your customers to provide their own cleaning supplies, establish firm procedures and policies to document on their job ticket what products the customer is providing, where it's stored in the home, which floors it should be used on, and any known safety risks. A simple note like “Customer Provided Product: Aunt Fannie’s Floor Cleaner Vinegar Wash. Under the kitchen sink. 2 oz per gallon water, clean kitchen tile floor only. Do NOT use on the marble front foyer.” can save you thousands $$$.

This policy also forces you to discuss products with the customer before their first clean, so you can also veto any naive product requests they make that could cause damage. For example, if the customer asked you to use their Aunt Fannies on their marble foyer, you can lovingly tell them it will slowly dissolve the tile before your employee accidentally ruins their floors. Customers unintentionally ask cleaners to slowly ruin their floors all the time due to misinformation on the internet, from mopping with Tide Pods to vinegar on marble, so having the conversation on the phone with someone in your business leadership instead of your newest rookie cleaner on-site can help you save the client from themselves (and then mistakenly blaming you).

Finally establish firm rules with your cleaning staff that if it's not a product you have provided to them in their supply kit or a product provided by the client that is clearly written on the customer job ticket proving it was discuss with the office beforehand, they are not allowed to use it without clearing it with management first.

Customers get cute all the time, being told "no" to something on the phone and then asking the cleaner on site to see if they can trick them into doing something they shouldn’t. This is how floors get ruined, so empower your staff to say “I’d be happy to mop your marble floors with straight vinegar Mrs. Smith, but I have to get authorization from my boss first. I’m going to call the office on my cell and hand the phone to you, you can discuss your request with them and if they give it the OK they’ll tell me and I’ll get right to work”.  

Deep Clean Hard Floors, Effortlessly.


Featured Articles

Preguntas frecuentes

Encuentre respuestas a nuestras preguntas más frecuentes.

Vídeos sobre cómo hacerlo

Vea cómo utilizar su microfibra de forma eficiente y eficaz.

Artículos

Artículos y consejos técnicos sobre el mejor uso y cuidado de su microfibra.

Entrevistas

Aprenda las mejores técnicas de limpieza de microfibras de la mano de profesionales expertos.

Continue To Cart Continue To Customize

By continuing with your order, you acknowledge and agree to the following:

Our property-marked towels are printed with a repeating pattern, and logo placement may vary from towel to towel.

You’ve chosen between receiving an emailed digital proof for a detailed review of your design at an additional cost of $20, or allowing our print team to use your uploaded file to prepare your order for printing.

We do not accept returns for printed property marked towels.