Ir al contenido

Your Cart

Add More. Save More. Ship Free.

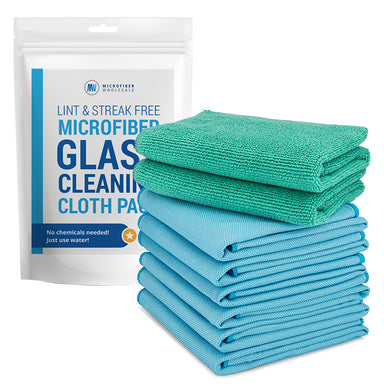
Pack de microfibra para limpieza de cristales

$16.98

5x7 Microfiber Lens & Glass Cleaning Cloth - 2 Pack With Case

$7.98
Seleccione el color: Paisley

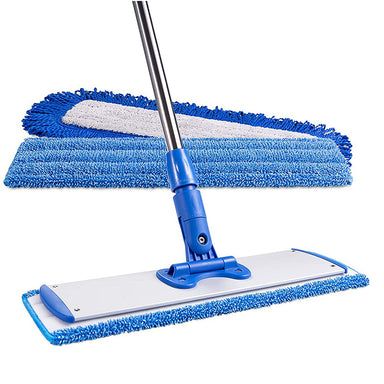
10" Microfiber Scrubber Mop

$13.98

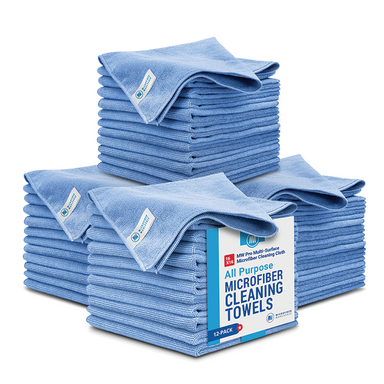
Toalla de microfibra Buff™ Detail 400 GSM (Gramos por metro cuadrado) de 16"x 16".

$19.98
Seleccione el color: Gris
7 common stainless steel cleaning mistakes

7 Mistakes That Make Stainless Steel Look Worse After You Clean It

Disclosure: This post may contain affiliate links.

Stainless steel is one of those surfaces that can make a space look high-end, if it’s maintained properly. Unfortunately, many well-intentioned cleaning pros find themselves frustrated when their hard work leaves behind dull patches, streaks, or even fine scratches. Why? Because stainless steel is unforgiving, and even small mistakes can ruin the finish.

If you want to take your stainless steel cleaning skills to a truly professional level, it’s not just about what products you use, but also about what you don’t do. We’ll break down the most common mistakes that can actually make stainless steel look worse after you clean it.

Let’s dive in!

a modern kitchen with stainless steel appliances and white cabinets

7 Mistakes You’re Making With Stainless Steel

1. Using Multi-Surface or Harsh Cleaners

One of the biggest offenders is using products not specifically designed for stainless steel. Multi-surface sprays, abrasive powders, or ammonia-based cleaners can leave a filmy residue, discolor the surface, and sometimes damage the protective finish. What looks fine at first often turns cloudy or streaky once it dries.

2. Cleaning Against the Grain

Stainless steel has a visible brushed grain. When you wipe across that grain instead of with it, it forces dirt and residue into the microscopic grooves. This makes streaks more obvious and can even create fine scratches over time. It’s a subtle mistake that becomes painfully clear when the surface dries under bright light.

3. Skipping the Pre-Clean

Going straight to polishing without removing food splatters, sticky residues, or fingerprints first just spreads grease around. It can look “okay” in the moment, but as the residue dries, you end up with uneven shine and spots that catch the eye.

stainless steel sink, backsplash and countertop

4. Overusing Cleaner

More product doesn’t mean better results. Over-spraying stainless steel cleaner creates an oily buildup that attracts dust and fingerprints. It’s also more work to buff out, and often leaves you chasing smears instead of creating a clean, professional finish.

5. Using the Wrong Cloth

Paper towels, cotton rags, or low-quality microfiber can leave lint behind and even cause micro-scratches. These fine scratches diffuse light, dulling the surface and creating a hazy appearance that no amount of buffing can fix.

6. Letting Stainless Steel Air Dry

After cleaning, leaving stainless steel to air dry almost guarantees spotting. Water droplets and cleaner residue evaporate unevenly, leaving behind dull marks that are especially visible on large appliances.

7. Rushing the Job

Stainless steel rewards patience. Quick, random wiping results in a patchy, streaked finish. If you’re in a hurry, it shows, and your client will notice. A few extra seconds of methodical cleaning and polishing make all the difference.

stainless steel fridge in a modern kitchen

How to Get Streak-Free Stainless Steel Every Time

So how do you avoid these pitfalls and get a flawless finish every time? The key is using the right process, not just the right product.

The Two-Step Process

  1. Step One: Clean with a damp microfiber terry cloth.
    Wet the cloth with plain water and wring it out well. Use it to remove soils, smudges, and fingerprints from the stainless steel surface. If there are stubborn soils or sticky spots, apply a light mist of a professional-grade stainless steel cleaner first, then wipe with the damp cloth.

  2. Step Two: Polish with a dry lint-free glass cloth.
    Before the surface dries, immediately follow up with a dry, lint-free microfiber glass cloth. Buff along the grain of the steel until the surface is completely dry and polished. This removes all moisture and residue, leaving behind a streak-free stainless steel finish that impresses every time.

For Stubborn Stainless Stains

Even with the best routine, you’ll occasionally run into stubborn soils, hard water spots, or light rust stains that need a little extra attention.

For sticky residue or heavy soil, start with a professional stainless steel cleaning solution applied to the surface and then gently buffed with a soft, scratch-free microfiber towel. Gently work the area until the buildup loosens, then finish with the 2-step microfiber method mentioned above.

If you’re dealing with hard water marks or minor rust stains, soak a paper towel with white vinegar and lay it directly over the stain for about 20 minutes. The mild acid helps dissolve the mineral deposits or surface oxidation. Wipe away the vinegar, then immediately follow with the same 2-step glass system above.

This simple process, damp cloth to clean, dry cloth to polish, is fast, repeatable, and delivers that smooth, even sheen clients expect from a professional.
Modern kitchen with stainless steel appliances and white cabinetry.

Master the Art of Streak-Free Stainless Steel

Great stainless steel cleaning isn’t about fancy products or shortcuts; it’s about attention to detail and using a proven method. By avoiding these seven common mistakes and switching to a professional 2-step microfiber cleaning process, you’ll never have to worry about streaks, haze, or that dull “just-cleaned” look again.

The best part? Once you master this method, it actually takes less time to achieve perfect results, and that’s something every cleaning professional can appreciate. Elevate your stainless steel game and watch your work shine (literally).

Our curated cleaning kit for professionals

We’ve curated a cleaning kit of our top products that our professional cleaning customers purchase over and over again. It contains three full days’ worth of high quality supplies for one cleaner, including four types of microfiber towels, microfiber dusters, scrubbers, heavy duty mops, and a laundry bag.

All this would usually cost you $500. Get it for $299.

Deep Clean Hard Floors, Effortlessly.


  • Featured Articles

    The Professional’s Guide to Indoor Pet Cleanups: Hair, Dander, Urine & Odors
    Spring Cleaning Isn’t Just Seasonal: Micro-Cleaning Routines That Work Year-Round
    A Kitchen Isn’t Clean Until These 8 Things Are Wiped Down
    Continue To Cart Continue To Customize

    By continuing with your order, you acknowledge and agree to the following:

    Our property-marked towels are printed with a repeating pattern, and logo placement may vary from towel to towel.

    You’ve chosen between receiving an emailed digital proof for a detailed review of your design at an additional cost of $20, or allowing our print team to use your uploaded file to prepare your order for printing.

    We do not accept returns for printed property marked towels.