Ir al contenido

Your Cart

Add More. Save More. Ship Free.

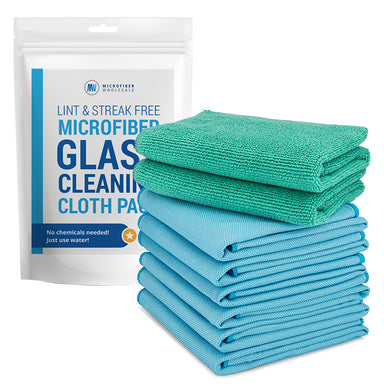
Pack de microfibra para limpieza de cristales

$16.98

5x7 Microfiber Lens & Glass Cleaning Cloth - 2 Pack With Case

$7.98
Seleccione el color: Paisley

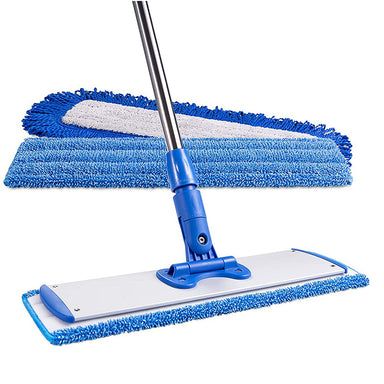
10" Microfiber Scrubber Mop

$13.98

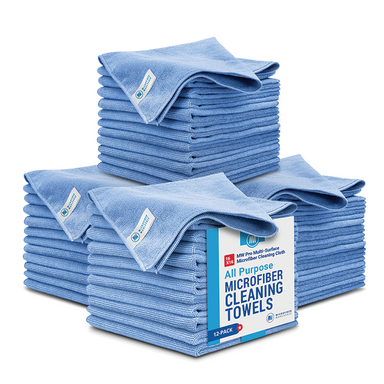
Toalla de microfibra Buff™ Detail 400 GSM (Gramos por metro cuadrado) de 16"x 16".

$19.98
Seleccione el color: Gris
Modern kitchen with stainless steel appliances and white cabinetry.

A Kitchen Isn’t Clean Until These 8 Things Are Wiped Down

Disclosure: This post may contain affiliate links.

When it comes to professional kitchen cleaning, surface-level shine just doesn't cut it. A kitchen may look clean, but true professionals know the difference between looking clean and being clean.

In commercial settings, or even residential jobs where clients expect top-notch results, overlooking key touchpoints can undermine your entire effort. If you're aiming to master how to clean a kitchen professionally, these eight often-missed areas need to be on your radar every single time.

Let’s break down the non-negotiables that separate a passable job from a professional one.

Close-up of modern cabinet handles on white cabinetry.

1. Cabinet Handles and Drawer Pulls

Small Touches That Harbor Big Germs

These small, high-touch details often get overlooked, but they’re magnets for bacteria, grease, and fingerprints. In busy kitchens, people constantly open drawers with hands covered in everything from raw meat juice to cooking oil. The result? Grimy buildup that clients may not see but definitely feel when they reach for a handle. Even in commercial settings, these are hygiene hot zones.

Best Way to Clean It

Spray a disinfecting degreaser onto a microfiber cloth, then wipe fronts, sides, and undersides of each handle. Don’t forget knobs and vertical edges where fingers naturally grip.

2. Light Switches and Outlet Covers

Often Forgotten, Always Touched

Switches and outlet plates may not seem like part of the kitchen cleaning checklist, but they absolutely should be. They're touched frequently, especially mid-cooking, when hands are messy, oily, or damp. That means they become sneaky collectors of bacteria and food residue. A quick glance may not show grime, but these are the kinds of details that leave a lasting impression if missed.

Best Way to Clean It

Never spray cleaner directly on a switch. Instead, mist your cloth lightly, wipe the entire plate and toggle, then follow up with a dry microfiber to remove any streaks or smudges.
Close-up of white cabinet base with wooden flooring.

3. Kick Plates and Baseboards

The Dirt Magnet Below Eye-Level

Kick plates and baseboards live in the splash zone, literally. They’re the catch-all for crumbs, mop splash-back, pet hair, and even shoe scuffs. Because they’re low and out of sight, they’re easily skipped, but a kitchen doesn’t feel truly clean when the lower perimeter is dusty or grimy. Clients may not be able to pinpoint what’s different, but they’ll sense the room feels fresher.

Best Way to Clean It

Start with a dry microfiber or vacuum to remove loose debris. Then, use a damp cloth and an all-purpose cleaner. For stuck-on gunk or shoe marks, a melamine sponge works wonders.

4. The Top of the Refrigerator

Out of Sight, Full of Dust

You may not see it, but the top of the fridge collects a shocking amount of dust, grease, and grime, especially in open-concept kitchens with circulating air. In homes, it’s often used as unintentional storage; in commercial spaces, it’s where airborne oils settle. A forgotten fridge top can release particles every time the door shuts, compromising air quality and cleanliness.

Best Way to Clean It

Start with a dry duster to remove loose buildup. Follow with a degreasing spray and a damp microfiber cloth, wiping from back to front. Finish with a dry cloth for streak-free results.

Two stainless steel trash bins in a modern kitchen setting.

5. Trash Can Exterior and Lid

The Germ Hotspot That Needs Love

The trash can is the one item everyone touches but no one thinks to clean, until it smells. Even if it’s lined inside, the outside gets splattered with food, touched with dirty hands, and bumped with elbows or hips. Over time, it builds a biofilm of grime that quietly sabotages your professional results.

Best Way to Clean It

Spray a disinfectant on the lid, sides, and foot pedal. Use a scrub brush for textured or grooved areas. For stainless steel cans, finish with a steel-safe polish to eliminate streaks and leave a clean, commercial-grade finish.

6. Inside the Microwave (Including the Top Interior)

Hidden Splatter, Big Impact

Microwaves are notorious for sneaky messes. Most people remember to wipe the tray, but completely miss the top interior, where sauces splatter and steam leaves residue. A crusty microwave is instantly off-putting and can undermine an otherwise spotless kitchen. Professional cleaners know this is a critical detail that shows attention to care.

Best Way to Clean It

Microwave a bowl of water with lemon slices for 2–3 minutes. The steam loosens gunk. Carefully remove the bowl, then wipe the interior, including the ceiling, with a microfiber cloth. Rinse and rewipe until spotless.

Stainless steel dishwasher in a modern kitchen setting.

7. Dishwasher Edges and Gasket

Clean Machine, Dirty Perimeter

The dishwasher might get dishes sparkling, but its own crevices can hide food bits, soap scum, and mildew. Clients might notice odors or grime without realizing it’s coming from the machine’s edges. That rubber gasket? It’s a haven for gunk and mold, especially in high-humidity kitchens.

Best Way to Clean It

Dip an old toothbrush in a vinegar-based cleaner or degreaser and scrub along the door’s edge and rubber seal. Wipe clean with a damp microfiber cloth. Finish by drying the area to prevent mildew from returning.

8. Under Countertop Edges and Lip

A Crumb Trap You Can’t See, But Can Feel

You know the spot, right underneath the lip of the countertop where crumbs, grease, and mystery gunk build up. Clients often run their hands under counters while leaning or opening drawers. If they feel stickiness, it reflects poorly on the whole clean.

Best Way to Clean It

Wrap a microfiber cloth around your fingers and run it along the underside edge of the countertop. Use a gentle degreaser for sticky spots. Pay special attention to areas above trash cans, sinks, and prep zones where spills are common.

Modern kitchen with stainless steel appliances and white cabinetry.

The Details That Define a Truly Clean Kitchen

No matter how sparkling the counters or gleaming the appliances, a kitchen isn’t clean until every detail is addressed. As a professional, these five areas are your silent signature, the little extras that leave a lasting impression and set your work apart.

So next time you're cleaning a kitchen, remember: your clients may not point out these spots, but they'll feel the difference. And that’s what professional cleaning is all about.

Our curated cleaning kit for professionals

We’ve curated a cleaning kit of our top products that our professional cleaning customers purchase over and over again. It contains three full days’ worth of high quality supplies for one cleaner, including four types of microfiber towels, microfiber dusters, scrubbers, heavy duty mops, and a laundry bag.

All this would usually cost you $500. Get it for $299.

Preguntas frecuentes

Most common questions about cleaning tile grout.

What is the best homemade solution for cleaning grout?

A popular DIY grout cleaner is a paste made from baking soda and hydrogen peroxide. It lifts stains, deodorizes, and whitens without harsh chemicals. Apply it to the grout lines, let it sit for 10–15 minutes, then scrub with a stiff brush. Avoid vinegar on unsealed grout, it can erode it over time.

How do I get grout white again without damaging it?

To safely whiten grout, use oxygen bleach, a steam cleaner, or a grout pen after deep cleaning. Avoid chlorine bleach, it can break down grout over time. Gentle scrubbing with a pH-neutral or alkaline cleaner, followed by sealing, restores brightness without risk of damage.

Is steam cleaning grout effective, and can I do it myself?

Yes! Steam cleaning is highly effective for deep grout cleaning, especially in showers and high-traffic floors. It uses heat and pressure to lift dirt, mold, and mildew, no chemicals needed. Most home steam cleaners with a grout nozzle work well, just go slow and let the steam do the work.

How often should grout be cleaned and sealed?

Grout should be spot cleaned weekly and deep cleaned every 3–6 months, depending on foot traffic and moisture levels. Sealing should be done once a year for most homes, or every 6 months in wet areas like showers. Sealing helps prevent staining and makes cleaning easier.

Can I paint or recolor my grout instead of replacing it?

Not if properly cared for. With 300+ wash durability, these towels stay soft and effective for the long haul, just avoid heat, bleach, and fabric softeners when washing.Absolutely. If your grout is stained but still intact, a grout colorant or pen is a fast, cost-effective way to refresh it. These products come in multiple colors and offer a uniform, like-new finish. Just clean the grout thoroughly first and apply carefully with a steady hand.

Deep Clean Hard Floors, Effortlessly.


  • Featured Articles

    Why Cotton String Mops Are Outdated (And What Professionals Should Use Instead)
    How The Pros Make Grout Lines Look Like New
    How to Deep-Clean and Maintain Every Type of Cooktop: Glass, Stainless, Gas & More
    Continue To Cart Continue To Customize

    By continuing with your order, you acknowledge and agree to the following:

    Our property-marked towels are printed with a repeating pattern, and logo placement may vary from towel to towel.

    You’ve chosen between receiving an emailed digital proof for a detailed review of your design at an additional cost of $20, or allowing our print team to use your uploaded file to prepare your order for printing.

    We do not accept returns for printed property marked towels.