Ir al contenido

Your Cart

Add More. Save More. Ship Free.

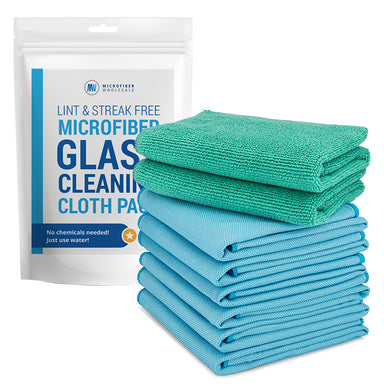
Pack de microfibra para limpieza de cristales

$16.98

5x7 Microfiber Lens & Glass Cleaning Cloth - 2 Pack With Case

$7.98
Seleccione el color: Paisley

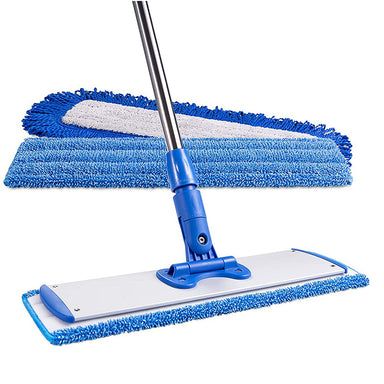
10" Microfiber Scrubber Mop

$13.98

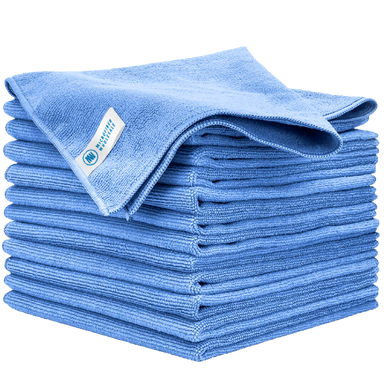
Toalla de microfibra Buff™ Detail 400 GSM (Gramos por metro cuadrado) de 16"x 16".

$19.98
Seleccione el color: Gris
A person cleaning a surface with a sponge and wearing yellow gloves.

The Glass & Mirror Cleaning Mistakes Costing You Repeat Business

Disclosure: This post may contain affiliate links.

Nothing undermines a spotless clean like streaky glass.

You can have the floors gleaming and the counters shining, but if a client catches sunlight bouncing off a streaked bathroom mirror, that’s the only thing they’ll remember.

The truth? Even seasoned pros struggle with streak-free results. It’s one of the trickiest parts of the job, unless you know exactly what’s causing the problem and how to fix it. We’ll discuss why streaks keep showing up, and the exact pro-level methods to make sure every window and mirror you touch is flawless.

Let’s dive in.

Person cleaning a window with a pink cloth in a well-lit room.

Why Streaks Happen (Even for the Pros)

In most cases, streaks come down to one or more of these issues:

  • Skipping a pre-clean.
  • Using the wrong cleaning solution.
  • Relying on ineffective tools.
  • Technique that works against you.

Even experienced cleaners run into these pitfalls, often because of tight schedules, ingrained habits, or working in less-than-ideal conditions like direct sunlight or high humidity.

The challenge is that streaks aren’t always visible right after you finish, they often reveal themselves later, when the light changes, leaving a less-than-perfect impression on the client. Understanding these four core issues is the first step to eliminating them, so you can deliver a flawless finish that stands up to any lighting or inspection.

1. Skipping the Pre-Clean

For pros, time is money, but skipping the pre-clean will cost you more in callbacks and rework. Any surface soil left behind becomes a streak magnet.

Here’s the pro breakdown:

  • Residential Windows: Standard detergent and distilled water with a squeegee work well for dust and water marks, but for stuck-on grime (bird droppings, bug residue), spot-treat with a damp high-quality microfiber towel.
  • Kitchen Glass: Near cooking areas, expect oil-based splatter. Microfiber + warm detergent water cuts through it fast.
  • Bathroom Mirrors: Lotions, toothpaste, and hair products are often oil-based. Again, detergent and microfiber win here.
  • Household Mirrors: Dust first with a microfiber duster, then follow with a damp microfiber towel for fingerprints.
  • Vehicle Glass (Exterior): Pre-treat bug splatter with vinegar or bug remover, then warm soapy water and microfiber.
  • Vehicle Glass (Interior): Usually just fingerprints and haze, use a damp microfiber, no detergent needed.

2. Using the Wrong Cleaner

Many off-the-shelf glass cleaners, especially those with ammonia or alcohol, create more problems than they solve. While these formulas are marketed for a streak-free shine, they often evaporate so quickly that you’re left with uneven drying marks before you even get a chance to wipe them away.

This is especially true when working in direct sunlight, near heat sources, or on warm glass, where rapid evaporation is guaranteed. For pros, the real issue is that these cleaners can give inconsistent results from job to job, making it harder to maintain a reliable standard your clients can count on.

Instead of relying on “miracle” sprays, focus on what works every time: a thorough pre-clean to remove soils, followed by a simple detergent-and-water solution applied with the right microfiber cloth. This combination allows for more working time, breaks down oily residue effectively, and gives you complete control over the finish, no streaks, no surprises.

Pro tip:

  • Clean the surface first (see step 1) before applying any polish.
  • Avoid alcohol/ammonia-based formulas in direct sunlight.
  • The most consistent results for pros? A simple detergent + water mix.

3. Relying on Ineffective Tools

Newspaper, paper towels, and old rags are still surprisingly common in some cleaning crews, often passed down as “traditional” methods. The problem? They’re streak and lint machines.

Paper towels break down as you wipe, leaving fibers behind, while newspapers can transfer ink and don’t have the same softness or absorbency they once did. Old rags, especially those made from mixed fabrics, tend to smear soils around instead of lifting them, making glass look dull or hazy under the light.

For professionals, these outdated tools don’t just slow you down, they hurt your results and can cost you repeat business. The fastest way to upgrade your finish is to upgrade your toolkit: use plush microfiber for the cleaning phase to lift and trap dirt, then switch to flat-weave microfiber for polishing, which leaves glass spotless, lint-free, and gleaming. Keeping a dedicated glass cleaning kit ensures these cloths are always clean, dry, and ready for flawless results.

Your best bet:

  • Plush microfiber for cleaning.
  • Flat-weave microfiber for polishing (no lint, no residue).
  • A dedicated glass cleaning kit keeps these separated and ready.
Person cleaning a window with a cloth, facing a green outdoor view.

4. Technique That Sabotages You

Even with top-tier tools and the right cleaning solution, poor technique can sabotage your results. Random wiping patterns, rushing the process, or starting at the bottom and working upward all increase the risk of streaks, uneven drying, and missed spots. Inconsistent pressure can also leave behind faint marks that only show up when the light changes, something clients notice instantly.

For professionals, technique isn’t just about making glass look clean in the moment; it’s about ensuring it still looks perfect hours later. To get there, use circular motions for stubborn spots to break them down quickly without over-wetting the surface.

For full-surface passes, work side-to-side from the top down in smooth, even strokes so any drips naturally flow into areas you haven’t wiped yet.

On large panes or mirrors, divide the job into sections to maintain consistent coverage and avoid streaking caused by drying before you’ve finished the pass. This disciplined approach guarantees a uniform, crystal-clear finish every time.

For pros:

  • Use circular motions for spot removal.
  • For full-surface passes, work side-to-side from the top down in smooth, even strokes.
  • Do larger surfaces in sections.

Nail the Shine Every Time

Don’t overcomplicate it. Streak-free results aren’t about chasing the latest “miracle” spray or adding unnecessary steps to your process. They come down to a few proven essentials: thorough pre-cleaning, a simple detergent-and-water solution, high-quality microfiber (plush for cleaning, flat-weave for polishing), and a consistent, top-down technique.

For cleaning professionals, crystal-clear glass isn’t just a task to check off, it’s a reflection of your skill, your standards, and your reputation. Clients notice when mirrors sparkle and windows gleam without a single smudge, and they remember the pro who delivered that result.

Master this system, and you’ll not only get faster, frustration-free results, you’ll set yourself apart as the cleaner who makes every pane a showpiece.

Our curated cleaning kit for professionals

We’ve curated a cleaning kit of our top products that our professional cleaning customers purchase over and over again. It contains three full days’ worth of high quality supplies for one cleaner, including four types of microfiber towels, microfiber dusters, scrubbers, heavy duty mops, and a laundry bag.

All this would usually cost you $500. Get it for $299.

Deep Clean Hard Floors, Effortlessly.


  • Featured Articles

    The Most Misused Cleaning Tools in Professional Settings
    5 Mop Bucket Mistakes That Spread More Germs Than They Remove
    The Professional’s Guide to Indoor Pet Cleanups: Hair, Dander, Urine & Odors
    Continue To Cart Continue To Customize

    By continuing with your order, you acknowledge and agree to the following:

    Our property-marked towels are printed with a repeating pattern, and logo placement may vary from towel to towel.

    You’ve chosen between receiving an emailed digital proof for a detailed review of your design at an additional cost of $20, or allowing our print team to use your uploaded file to prepare your order for printing.

    We do not accept returns for printed property marked towels.